Strumming & Rhythm
Fingerpicking for Beginners: Your First Picking Pattern
Learn fingerpicking for beginners step by step. Covers hand position, p-i-m-a finger names, and a simple 4-string pattern you can play today.
Fingerpicking means using your individual fingers to pluck strings one at a time instead of sweeping a pick across them. You can start on day one, and a single four-string pattern is enough to make most beginner songs sound complete. This guide walks through hand position, the finger names you need to know, and a pattern you can practice today.
Setting Up Your Picking Hand
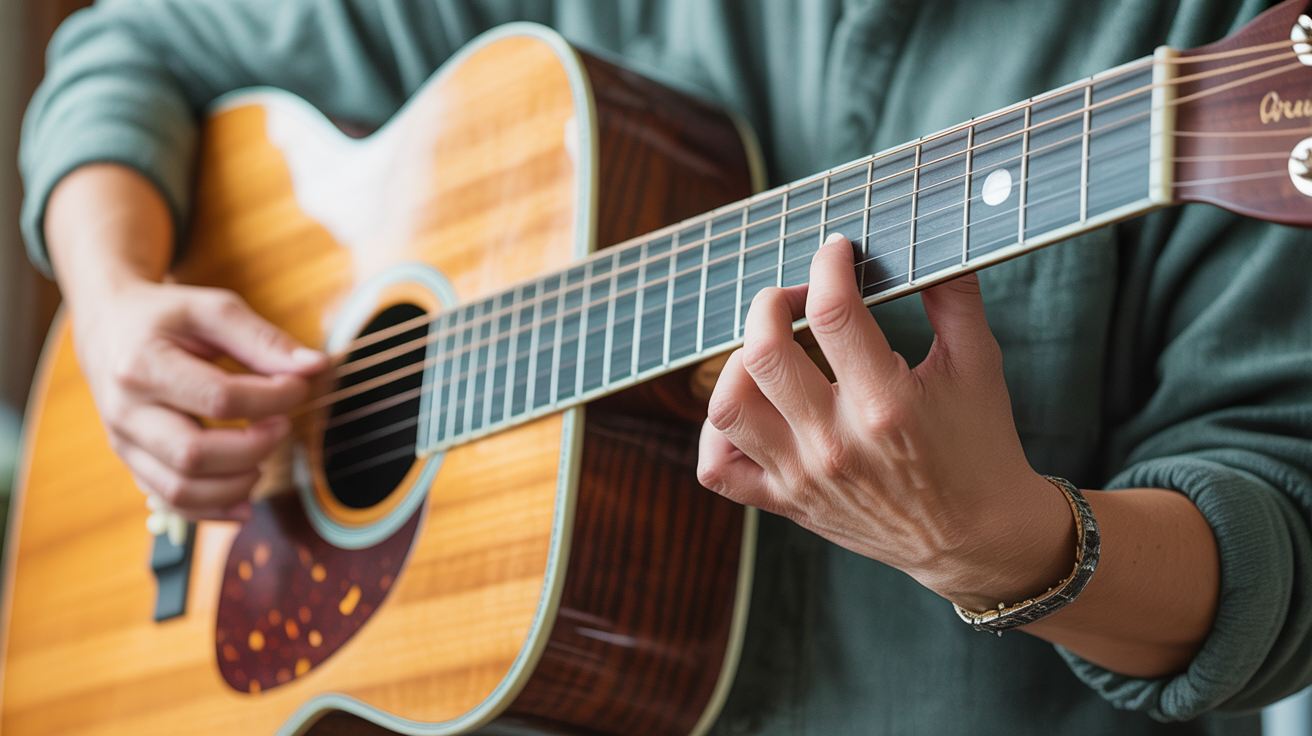
Before you play a note, your right hand (left if you play left-handed) needs a home base. Rest your forearm lightly on the body of the guitar, just above the soundhole on an acoustic or near the bridge pickup on an electric. Your wrist should float above the strings, not rest on the saddle.
Curl your fingers naturally toward the strings. Your thumb points roughly toward the headstock; your fingers point toward the floor. This relaxed curve is what you want to keep throughout.
The p-i-m-a Finger System
Classical guitar borrowed four letters from Latin to label the picking-hand fingers. You will see these in every fingerpicking chart:
| Letter | Spanish word | Finger |
|---|---|---|
| p | pulgar | thumb |
| i | indice | index |
| m | medio | middle |
| a | anular | ring |
The pinky is rarely used and is ignored for now.
A simple way to assign fingers to strings:
- Thumb (p): strings 4, 5, and 6 (the three thickest)
- Index (i): string 3
- Middle (m): string 2
- Ring (a): string 1 (thinnest)
This assignment is not rigid, but it is the standard starting point for beginners.
Your First Fingerpicking Pattern
The most common beginner pattern covers four strings and follows a simple thumb-then-fingers sequence. Here it is written out in p-i-m-a notation:
p - i - m - a
4   3   2   1
That means: pluck string 4 with your thumb, then string 3 with your index finger, then string 2 with your middle finger, then string 1 with your ring finger. In tab form over an Em chord:
e|----------0--|
B|--------0----|
G|------0------|
D|----2--------|
A|-------------|
E|0------------|

Left hand: Em chord
Right hand: p - i - m - a (strings 6 - 3 - 2 - 1)
Play through it slowly with even spacing between each note. Your goal at this stage is not speed, it is making each string ring clearly without touching adjacent strings.
Fitting It to a Chord Progression
Once the pattern feels natural on Em, try it on a simple two-chord loop: Em to Am. Hold each chord for one full pattern (four plucks) before switching.
Em                    Am
e|--------0-------|--------0-------|
B|------0---------|------1---------|
G|----0-----------|----2-----------|
D|--2-------------|--2-------------|
A|----------------|0---------------|
E|0---------------|----------------|

Pattern each chord: p - i - m - a
You will notice that the bass note (played by your thumb) changes with the chord. On Em your thumb hits string 6; on Am it moves to string 5. That single change is what gives fingerpicking its full sound.
Keeping the Beat Steady
Fingerpicking beginners tend to rush the thumb and drag the fingers, or they pause between notes while thinking about which finger comes next. Both issues come from the same cause: practicing faster than your brain can track.
Set a metronome to 50-60 BPM and aim to land each of the four plucks on a beat subdivision. At 60 BPM in 4/4 time, one complete p-i-m-a pattern takes two beats if you play two notes per beat. Slow that down further if you need to.
If you are working on how to keep time and strum in rhythm, the same counting strategy applies here. Subdivide the beat out loud (saying "one-and, two-and") and match each finger to a syllable.
Consistency matters more than speed. A pattern played at 55 BPM with every note clean will train your muscle memory far more effectively than the same pattern stumbled through at 90.
Moving From Strumming to Fingerpicking
If you have been learning how to strum a guitar with the down-up motion, you already understand chord shapes and basic rhythm. Fingerpicking uses the same chords, just a different right-hand approach.
One practical way to bridge the two techniques: take a chord progression you can already strum and replace the strum with the p-i-m-a pattern. Because your left hand does not change, you can focus entirely on the right hand.
Songs that work well for this crossover include any that use Em, Am, C, and G open chords. Those four chords together cover hundreds of songs, and the p-i-m-a pattern fits over all of them with only minor thumb adjustments for the bass string.
Once you are comfortable with a steady four-note pattern, you can explore 5 easy strumming patterns behind most songs and alternate between strumming and fingerpicking to vary the texture of a song.
Common Mistakes and How to Fix Them
Fingers colliding with strings. Pulling up at the end of a pluck instead of slightly inward fixes this. Think of curling your fingertip toward your palm rather than lifting it away from the guitar.
The thumb note drowning out the fingers. Your thumb naturally produces more volume because the bass strings have more tension. Practice the pattern with your thumb intentionally light until the balance evens out.
Accidentally muting strings with the heel of your palm. This happens when your wrist rests on the bridge. Lift the wrist so only your forearm touches the guitar body.
Losing your place between fingers. If you freeze trying to remember which finger comes after the thumb, go back to a single string and drill just the sequence: p-i-m-a, p-i-m-a, without worrying about which strings. Once the sequence is automatic, add the string assignments back.
Frequently Asked Questions
Do I need long fingernails to fingerpick? No. Many players use the flesh of their fingertip and produce a warm, soft tone. Slightly longer nails on the picking hand produce a brighter tone, but this is a preference, not a requirement. Start with whatever nails you have.
Should I use a pick or my fingers? For fingerpicking patterns, bare fingers or fingerpicks (small plastic or metal picks that slide onto your fingertips) are standard. A flatpick does not give you independent control of each finger, so set it aside when practicing fingerpicking. You can always alternate between techniques in different songs.
How long does it take to learn a basic fingerpicking pattern? Most beginners can play a four-note p-i-m-a pattern at a slow tempo within one or two practice sessions. Playing it smoothly across chord changes typically takes one to two weeks of short daily practice. Five to ten minutes of focused repetition each day is enough.
Can I fingerpick on an electric guitar? Yes. Fingerpicking works on any steel-string guitar. On an electric, the strings are usually lighter, which makes them easier to pull. The technique is identical; only the tone changes.
What chord should I practice fingerpicking on first? Em is the easiest starting point. It only requires two fingers on the left hand, which frees your attention for the right-hand pattern. Once the pattern is stable on Em, move to Am, then add G and C.